
You want your garage floor to look right and last longer, and prep work makes the biggest difference. Knowing which prep steps matter helps you compare coating options, ask the right questions, and avoid costly mistakes.

This article guides homeowners through the prep details that change the final finish and durability of a garage coating. It focuses on what to check, what to ask contractors, and which tradeoffs matter so you can pick the best approach for a Jacksonville garage.
1) Moisture test using a Tramex concrete moisture meter
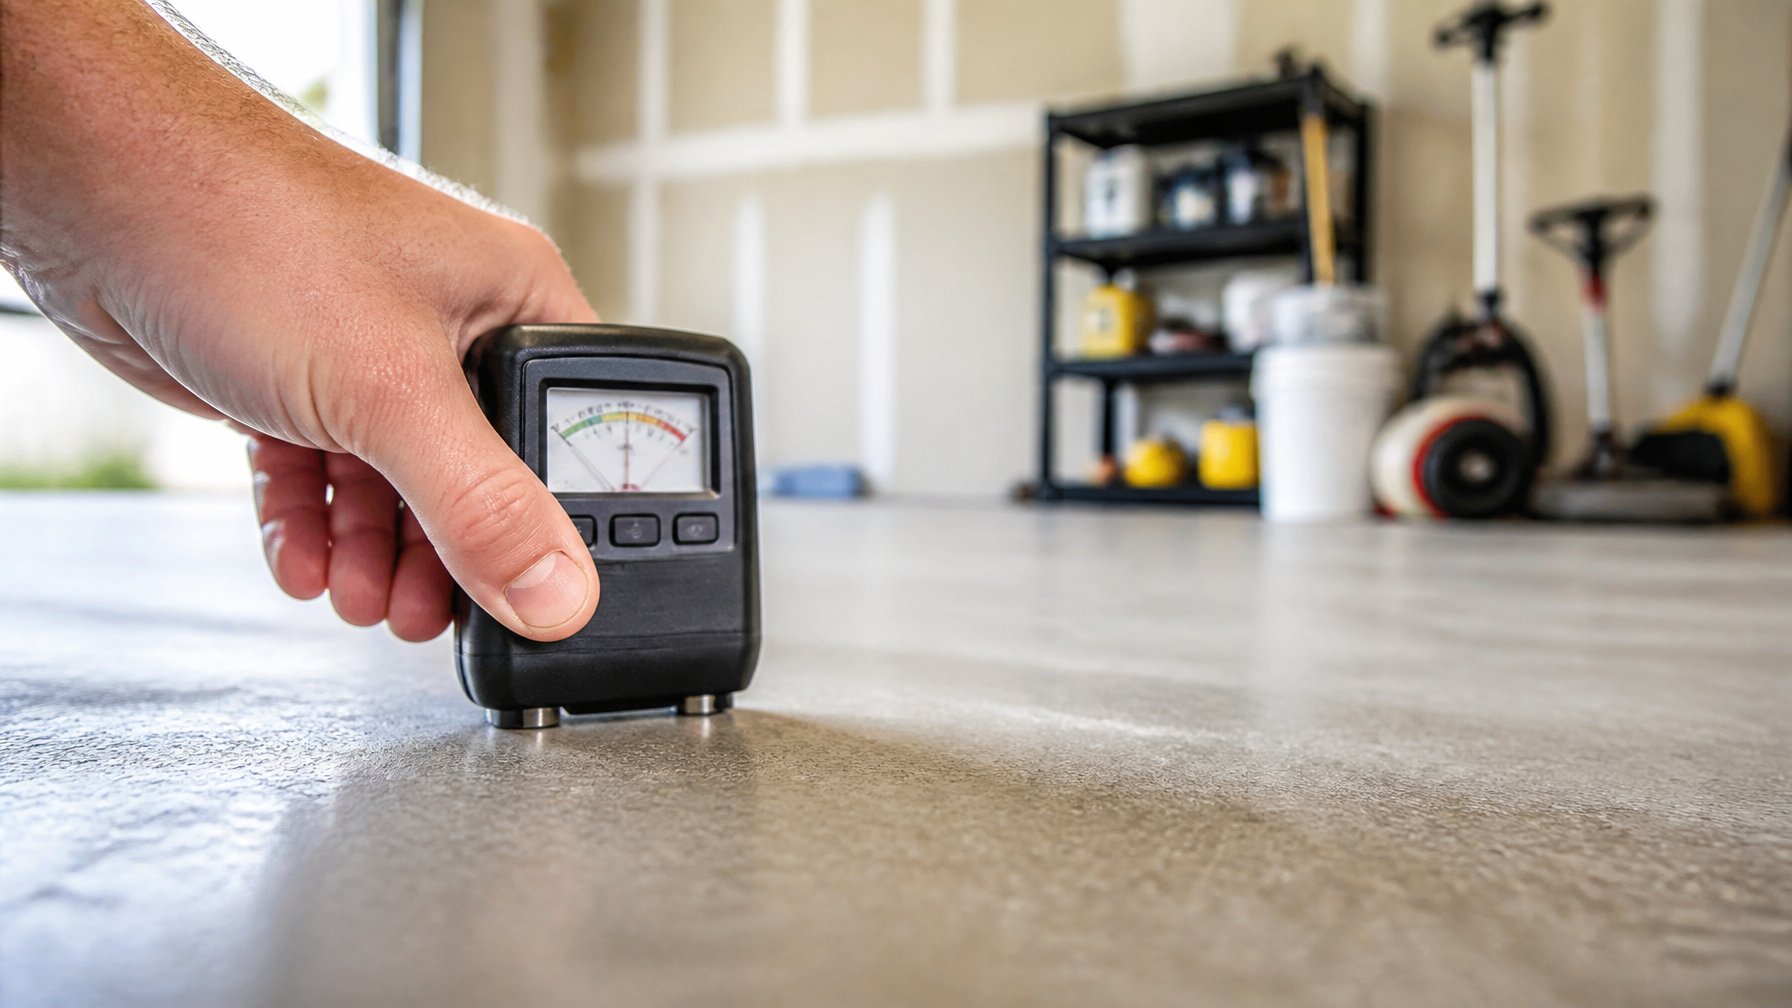
They should test the concrete with a Tramex meter before any coating. The meter reads moisture levels quickly and helps decide if a sealer or vapor barrier is needed.
Compare the meter reading to the coating maker’s allowed moisture limit. Ask whether readings are taken across the whole slab and near walls, not just the center. If readings are high, the tradeoff is delaying work to dry or choosing a moisture-tolerant system.
Homeowners should request a written moisture report and keep it with project records. For more prep steps and services, see the homepage.
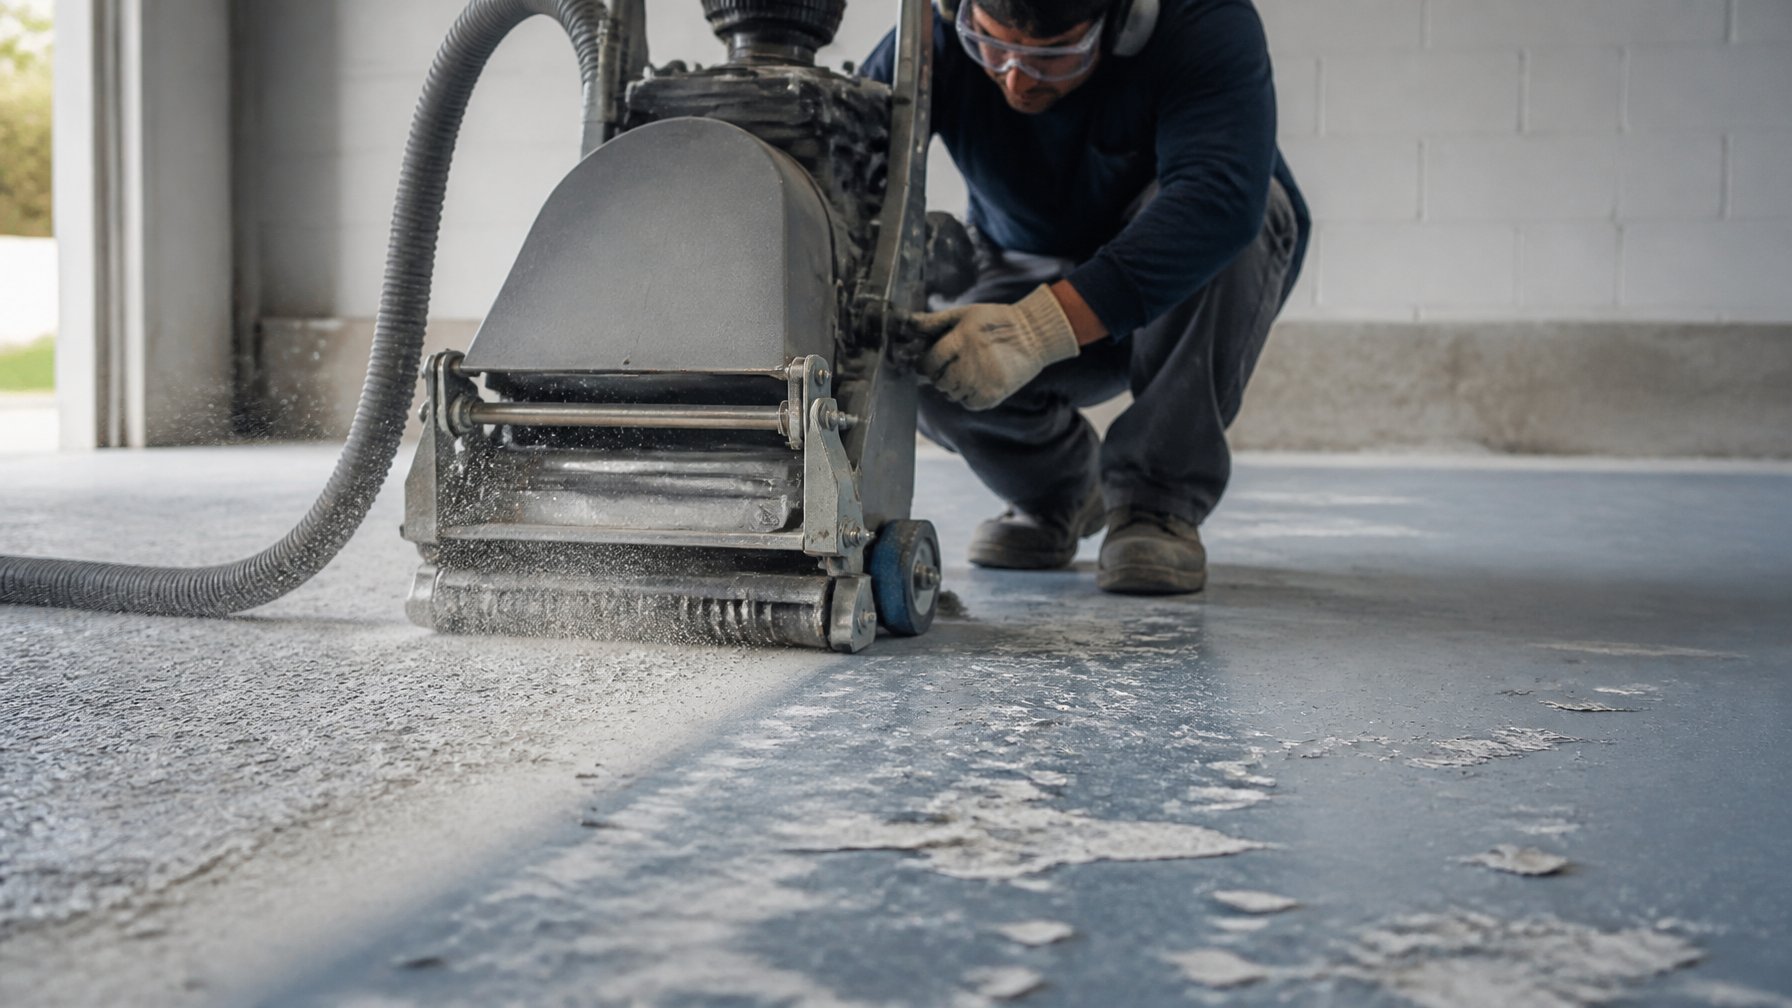
2) Diamond grinding to remove surface laitance

Diamond grinding strips the weak, powdery layer called laitance from the concrete surface. Homeowners should compare grinder sizes and diamond grit levels to match slab condition and desired texture.
Ask whether the contractor will collect dust with a vacuum system. Dust control affects indoor air and cleanup time, and a good system can cut cleanup hours and mess.
There is a tradeoff between aggressive grinding and thin concrete cover. More aggressive work removes more laitance but can expose aggregate or lower slab strength; ask how much material they plan to remove.
They should inspect the floor afterward for a uniform profile and note any areas needing a second pass. See the homepage for service details and to learn how grinding fits into overall prep.
3) Shot blasting for profile on old epoxy
Shot blasting removes old epoxy and creates a rough profile that new coatings can bond to. Homeowners should compare blast equipment sizes and abrasive types; heavier steel shot cuts faster but may pit thin concrete, while lighter abrasives are gentler.
Ask contractors about containment and dust control. Shot blasting is dusty and noisy, so verify vacuum systems and cleanup plans before hiring. The tradeoff: quicker, deeper profile versus more surface wear.
They should also request a substrate profile measurement and compare it to coating manufacturer specs. If the profile is too shallow, coatings may fail; too deep can weaken the slab. Visit the homepage for more prep and coating guidance.
4) Repairing hairline cracks with SikaConcreteFix

They should inspect cracks for width and depth before buying SikaConcreteFix. Measure cracks; hairline cracks are usually under 1/8 inch. Compare tube size and cure time to the project size.
Ask about compatibility with sealers and paints. SikaConcreteFix bonds well to clean, dry concrete. They should clean oil and dust, then use a caulk gun for steady bead application.
Weigh ease of use versus cure time. Fast cures let them finish sooner but may need warmer temps. Slower cures give more working time for smoothing and tooling.
Consider the finish appearance after sanding and coating. They should test a small area to check how the repair takes stain or epoxy. For more prep and coating tips, visit the garage floor refinishing service page.
5) Hydrostatic pressure mitigation with a sump pump
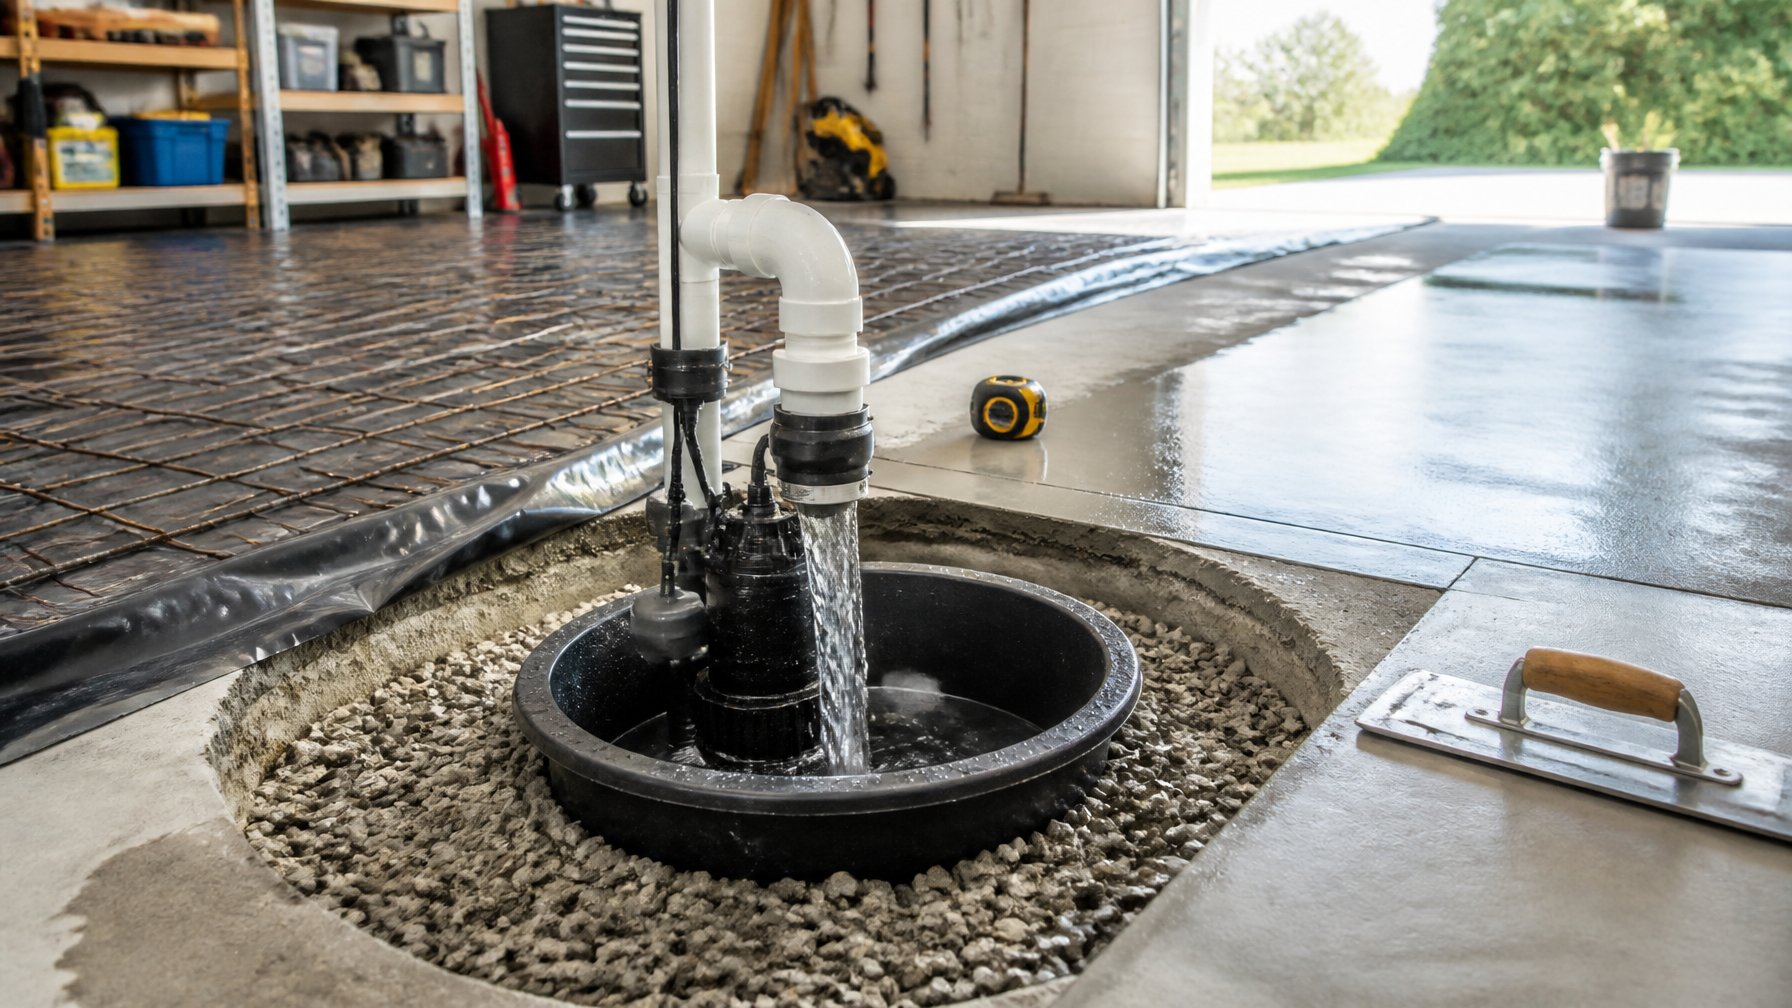
They should check for signs of water seepage before finishing a garage floor. Ask whether a sump pump is needed based on soil type and basement water history. Compare battery backup options and pump capacity to match peak inflow.
Homeowners should pick a pump with a reliable float switch and a clear discharge plan. They must ask how the discharge line will be routed and where it will drain to avoid nuisance runoff. Trade off higher initial cost for a pump with a backup system if outages are common.
Consider the pit size, cover type, and access for maintenance. Ask the installer about alarm options and how often the pump needs service. Visit the homepage for more prep and waterproofing guidance.
6) Degreasing with Simple Green Concrete Cleaner

They should compare concentrated vs. ready-to-use Simple Green formulas. Concentrate lets them control strength for heavy oil stains but needs careful dilution. Ask about recommended dilution ratios for concrete and which safety gear to use.
He or she must sweep and dry the area first, then apply cleaner and scrub with a stiff brush or floor scrubber. Let the solution dwell as directed, then rinse thoroughly with a pressure washer or strong hose.
They should weigh time vs. effort: a stronger mix removes stains faster but may need extra rinsing. Homeowners can check the homepage for concrete cleaning services to learn more about equipment options.
7) Etching with muriatic acid (diluted) for better adhesion
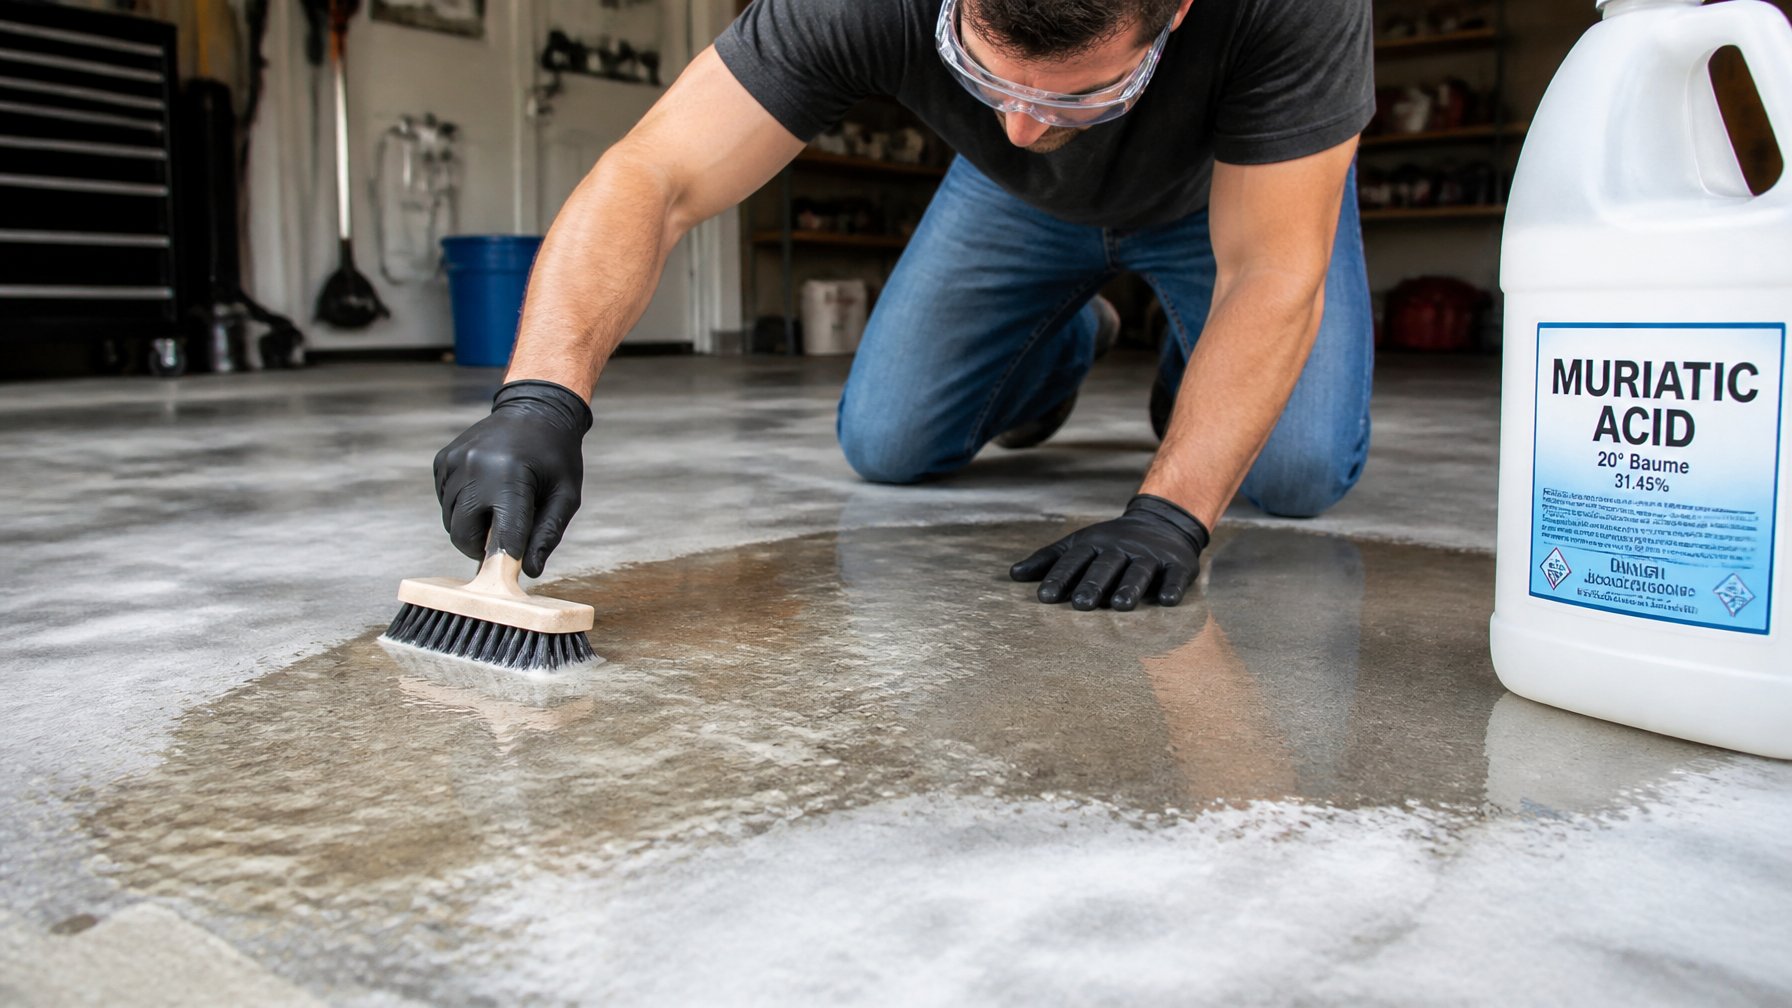
They should compare muriatic acid etching to mechanical methods like grinding. Etching is cheaper and faster, but it removes less laitance and may not fix deep contamination. Ask whether a neutralizer and thorough rinsing will be done afterward.
Homeowners must follow safety steps: goggles, gloves, and a respirator. They should work outside or ventilate well and test a small area first to check for unwanted color changes or damage.
Mix a weak solution per product directions and apply with a plastic pump sprayer or broom. Let it fizz briefly, then scrub and rinse until the runoff is clear to ensure proper adhesion.
Consider tradeoffs: etching saves time, but grinders create a more consistent profile for coatings. For help choosing a method, visit the homepage.
8) Applying a primer/bond coat like Rust-Oleum EpoxyShield

They should compare adhesion and cure time when choosing a primer. Ask if the product bonds to concrete and to the chosen topcoat, and check pot life so they can finish the area before it skins over.
Apply primer to a clean, dry surface. It helps seal dust and improve topcoat spread, but it can flash or bubble if the concrete is damp or contaminated.
Tradeoffs matter: some primers dry fast but give less working time, while others allow more leveling but need longer cure. For product choices and services, see garage floor coating.
9) Trowel-fill low spots with Ardex Feather Finish
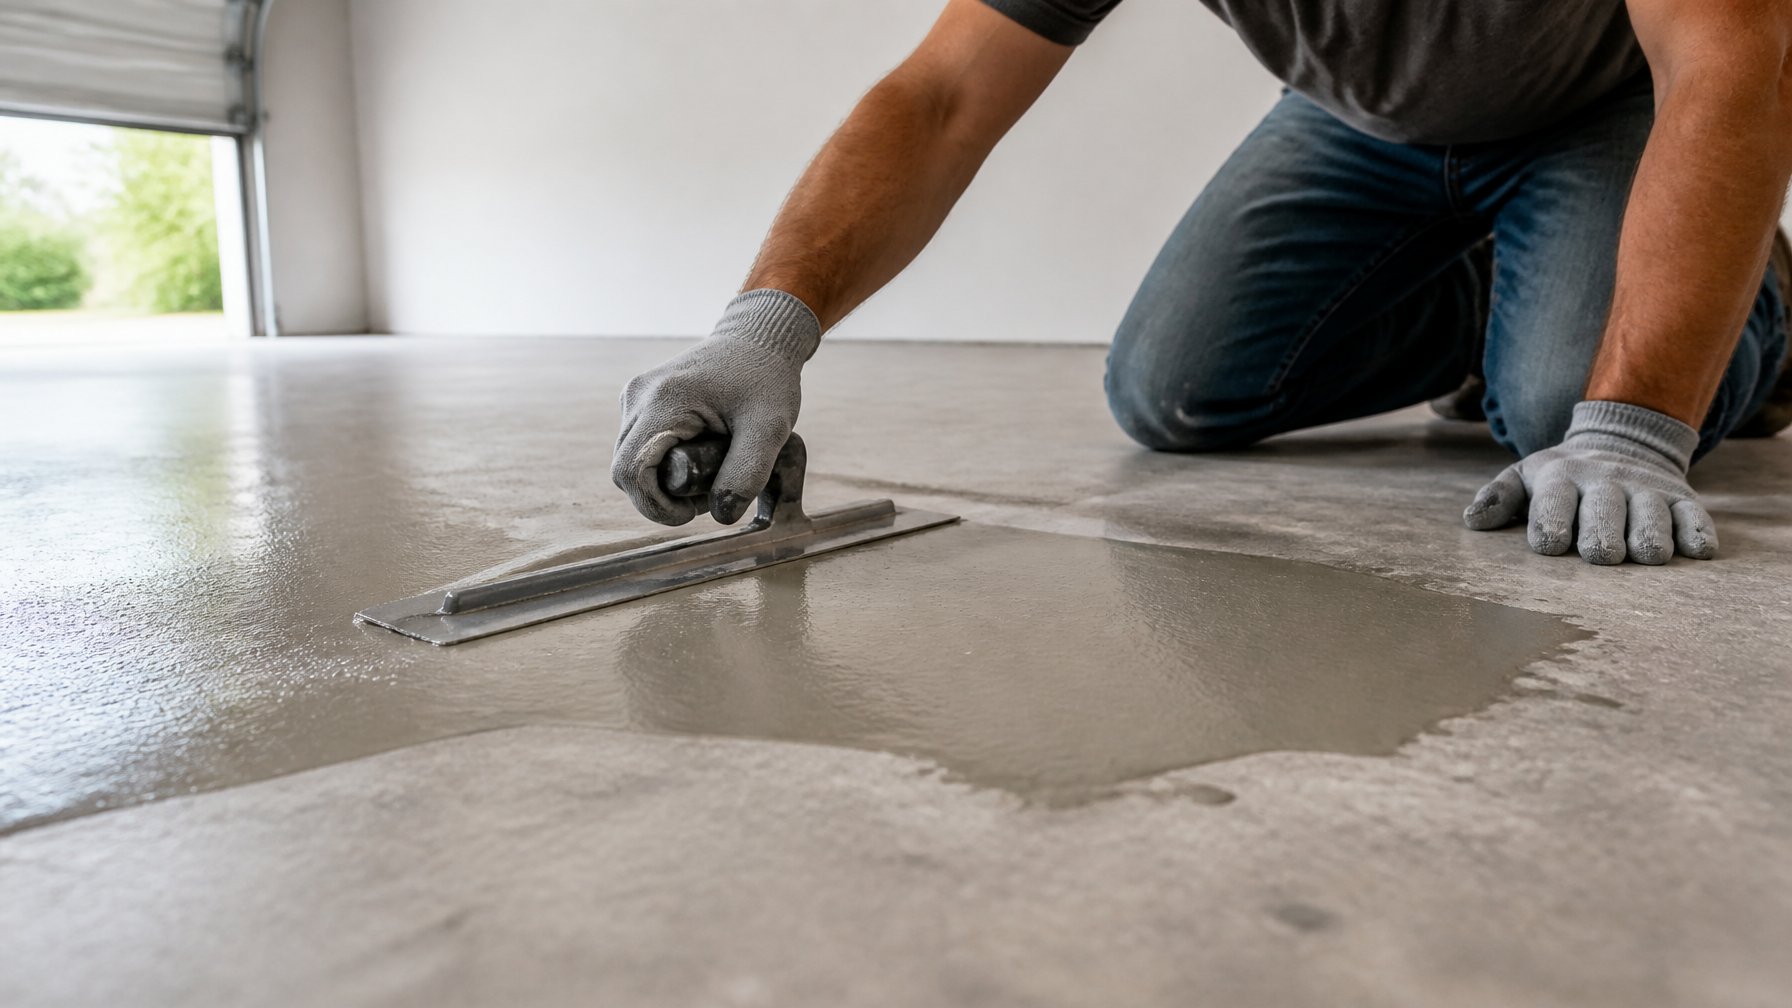
They should check the floor for low spots after grinding and patching. Compare depth of depressions to the product limits; Ardex Feather Finish is best for very thin fills up to about 1/8 inch. Ask about mixing ratio and pot life so the material spreads smoothly before it sets.
They should trowel the mix into low areas and feather edges to blend with surrounding slab. Work in small sections and use a damp sponge or edger to smooth seams for a flat look. For more prep tips and services, see the homepage.
10) Control joint routing and sealing with epoxy joint filler
They should check existing control joints and decide whether to route deeper before coating. Compare routed depth versus leaving shallow joints; deeper routing helps epoxy bond and hides cracks but adds labor and cost.
They should ask contractors about epoxy joint filler options and cure times. Ask whether the filler is flexible, tint-matched, and compatible with chosen topcoat to avoid telegraphing or debonding.
They should weigh tradeoffs between rigid vs. flexible fillers. Rigid fillers reduce movement but can crack again; flexible fillers absorb movement but may show slight seam lines.
They should consider appearance and maintenance when choosing color and profile. For more guidance and services, consult epoxy floor installation and prep information.